Welcome back to the “Empty Nester’s Home Refresh” project! Today I’m updating you with a glimpse into demo….where we remove the old fixtures, carpet, lights, cabinets, etc, to begin preparations for the NEW!
Needless to say, this phase is a mess! We managed to fill the dump trailer to the brim twice, carting off debris and fixtures that could not be recycled. As a side note, I’m happy to say that a local investor/remodeler was able to take quite a bit from the house prior to the actual demolition, and it’s nice knowing many fans, lights, faucets, and even doors will be recycled and reused soon. I’m always happy when the landfill only receives actual trash, and as much of our waste as possible finds new life elsewhere.


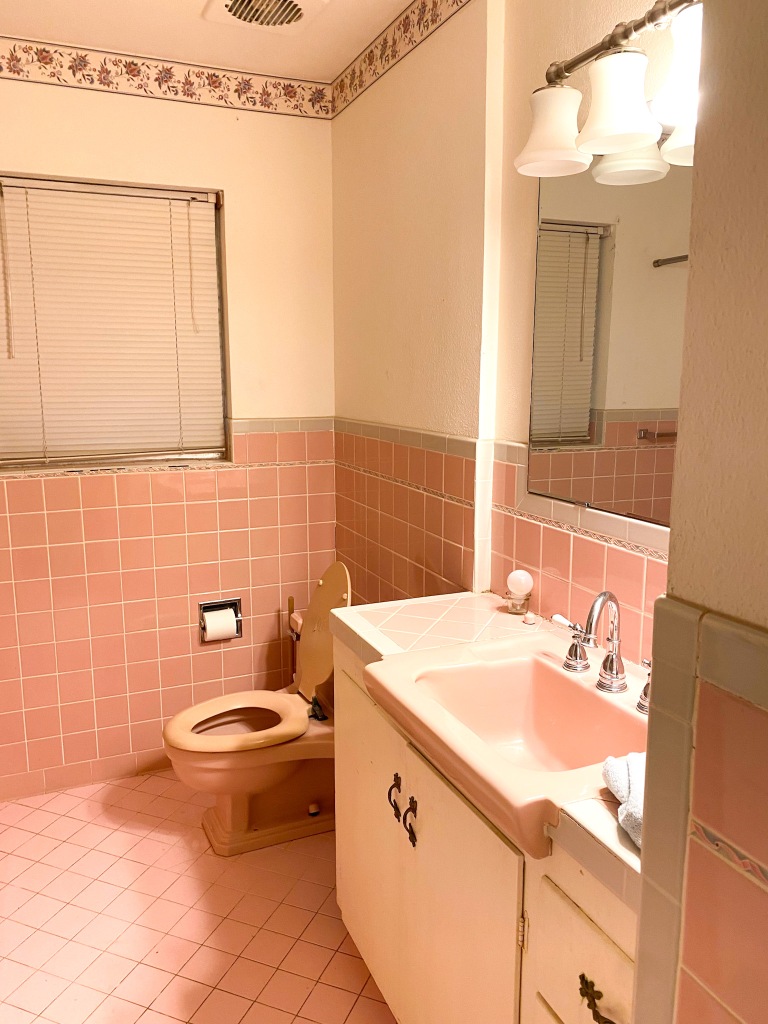
As you can see in the master bath photos above, we removed all of the fixtures and walls from the existing room; after removing the HUGE round tub, made of and surrounded by cast marble, we were surprised to find an actual HOLE in the floor beneath the tub! By this, plus the fact that old wallpaper was behind the walls of the tub surround, it is clear that the tub and shower we just tore out were not original to the house….still, the plumbers should have filled in the floor properly last time. After relocating the drains for the tub and shower, our plumbers poured new cement to close in the chasm and protect the pipes (see below)

I’ll show you more about the plans for the master bath next week, but I did promise demo pics, so here are a few of other areas in the home:


Pulling up carpet often reveals a mess, with trying to remove the pad underneath; it’s not unusual for the pad to stick in random spots, making it necessary to use scraping tools to get it all up. The carpet tack around the perimeter of each room is also very difficult to remove, as it is actually nailed into the concrete floor ~ our guys did a fantastic job of removing ALL traces of the carpet. We also removed the dated wood mantle, but for a very good reason OTHER than aesthetics.
To improve the furniture arrangement in this large room, we decided to place the TV over the fireplace. While this is not a unique idea, that placement often leaves a TV too high for comfortable viewing from the room’s seating. I see this often; people are unable to sit back far enough from the TV to prevent an uncomfortable neck position while viewing it over their mantle. By removing this mantle, we will be able to mount the TV in a lower position that works comfortably without causing my clients future neck problems! (I have found a beautiful live-edge walnut mantle which will be placed on the bricks, thus lowering the overall arrangement)


Quick note about the plans: while the new cabinet footprint remains very similar to what was here, it “fixes” several design problems, which will make using the new kitchen more pleasant and productive. Of course, it will also be up-to-date, with beautiful new finishes, fixtures and appliances. I can hardly wait for you to see the new kitchen emerge!

This kitchen had electric appliances, though gas is available elsewhere in the house; my clients elected to go back with an upscale gas range, which will sit in front of the half-wall you see above. We have framed in the wall there to accommodate the new arrangement, and widened the cased opening to the breakfast room. Since there was no gas to that location, the plumbers were able to bring in the line through the attic, drop it close to the range location, and bring it over to the exact spot. Like this:

I’ll show you one more area I think might be interesting today: in the Game Room, there was an old wet bar that has not been used that way for many years. My clients made the best of the space, though having a sink along with mirror-backed upper shelves really wasn’t conducive to anything else! My least favorite thing about the bar, from a design standpoint, was how is was jammed up against the wall on one side, making that side of the room feel off-balance. (it was that way because it backed up to a bathroom vanity on the other side of the wall)
Having decided to close in this area to make a game closet, we were going to have narrow double closet doors framed in. During the kitchen tear-out, I realized the former pantry doors would look much better there than the regular white closet doors I’d planned! Because they are narrow, we were able to center them on the space, which means it won’t look “jammed up against the wall” when it is all finished out. The solid wood doors also match the wood ceiling over the pool table and another set of wood and glass doors that separate this area from the kitchen. WIN! I hope you can see the transition in this series of photos:


I leave you this time with a few things we are saying “goodbye” to! Out with the old, and soon…..in with the new! On the job, we have framed in the new bathroom and kitchen, and the plumbers and electricians are hard at work on the rough-in phase of their work. By the end of next week, we will have new sheetrock hung, then we’re really on the way to exciting times!


Next time I’ll share plans and colors, then soon I’ll introduce you to our (no kidding) rockstar electrician! Stay tuned, and thanks for joining us on this fun project!